How to Build a React Site With Manus
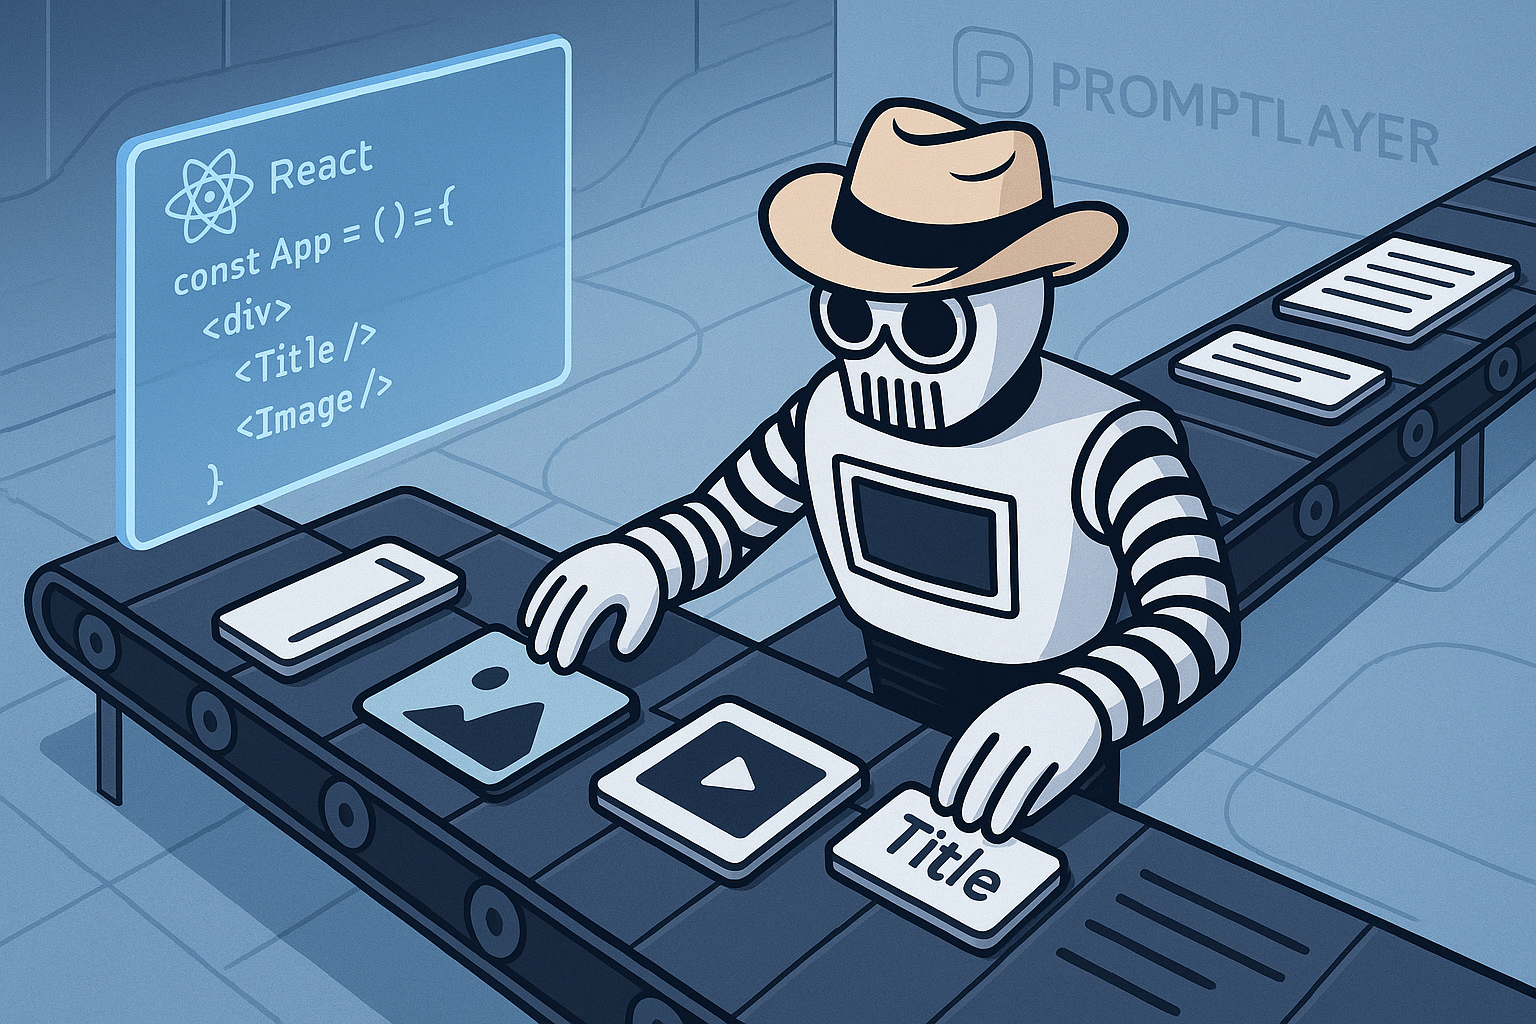
How to Build a React Site With Manus
Manus can help you turn a product idea into a working React site, but you still need to drive the project like an engineer. The best results come when you define the scope clearly, review the generated plan, inspect every code change, run the app locally, and record the prompt iterations that shaped the final output.
This guide walks through a practical workflow for using Manus to build a React site. It focuses on the parts that matter for teams shipping real software: requirements, dependencies, API keys, code review, testing, deployment, and iteration tracking.
What you should prepare before opening Manus
Before you ask Manus to generate code, write down the project constraints. A vague instruction like “build me a React landing page” usually produces generic code, mismatched dependencies, and design decisions you did not ask for.
Prepare a short project brief with:
- Site purpose: For example, a marketing site for an AI code review tool.
- Target users: For example, engineering managers and senior developers.
- Core pages: Home, pricing, docs, changelog, and contact.
- Stack preference: Vite, React, TypeScript, Tailwind CSS, React Router, or another setup.
- Design constraints: Colors, typography, spacing, responsive behavior, and accessibility expectations.
- Data needs: Static content, CMS-backed content, API calls, forms, auth, or analytics.
- Deployment target: Vercel, Netlify, Cloudflare Pages, AWS, or your internal platform.
- Definition of done: What must work before you accept the output.
For a small React marketing site, a strong starting scope might be:
- Vite plus React plus TypeScript
- Tailwind CSS for styling
- Three routes: home, pricing, and docs
- Responsive navigation
- Accessible buttons and forms
- No backend in the first version
- Deployable to Vercel
Step 1: Create a clear task in Manus
Start with a task that gives Manus enough context to produce a useful plan. Include your stack, pages, constraints, and acceptance criteria.
Example Manus prompt for the initial task
You can use this as a starting point:
Build a React site using Vite, React, TypeScript, and Tailwind CSS.

Project: A marketing website for an AI code review tool called ReviewPilot.

Pages:
1. Home page with hero section, product benefits, feature cards, workflow section, testimonial, and CTA.
2. Pricing page with three plans: Free, Team, and Enterprise.
3. Docs page with a simple sidebar and three documentation sections.

Requirements:
- Use React Router for routing.
- Use reusable components for Button, Card, Navbar, Footer, PricingCard, and Layout.
- Use TypeScript.
- Use Tailwind CSS.
- Make the site responsive for mobile, tablet, and desktop.
- Follow basic accessibility rules: semantic HTML, visible focus states, alt text where needed, proper button and link usage.
- Do not add external APIs.
- Do not add authentication.
- Do not include real API keys, secrets, or tokens.
- Include setup and run instructions in README.md.

Before writing code, create a plan with:
- File structure
- Dependency list
- Component list
- Main implementation steps
- Risks or assumptions
The last line matters. Ask Manus to produce a plan before it writes code. You want a chance to catch bad assumptions early, such as unnecessary backend services, random UI libraries, or unsupported dependencies.
Recommended screenshot: Capture the Manus task setup before submitting it. This gives your team a record of the original requirements.
Step 2: Review the generated plan before code starts
When Manus generates a plan, slow down and inspect it. You are looking for avoidable problems before they become code.
Check the plan for:
- Unwanted dependencies: For example, a heavy UI framework when you asked for plain Tailwind components.
- Missing TypeScript setup: Confirm the plan includes TypeScript config and typed components.
- Unnecessary backend work: Manus may add APIs, databases, or auth when the site does not need them.
- Security issues: Watch for references to API keys, tokens, or secrets in frontend files.
- Deployment mismatch: If you plan to deploy to Vercel, the setup should fit a standard Vite deployment.
- Weak accessibility coverage: Confirm the plan includes semantic structure, keyboard navigation, labels, and focus states.
If the plan is too broad, ask Manus to narrow it. If it misses a requirement, correct it before generation.
Example prompt to revise a Manus plan
Revise the plan before writing code.

Changes:
- Remove any backend, database, or authentication work.
- Do not use a component library.
- Keep styling in Tailwind CSS.
- Add a 404 route.
- Add accessible mobile navigation with keyboard support.
- Include exact npm commands for install, local development, build, and preview.
- Confirm that no API keys or secrets will be added to the frontend.
Recommended screenshot: Capture the generated plan and any revisions. This is useful during review if the output later diverges from the approved direction.
Step 3: Let Manus generate the React project
Once the plan looks reasonable, let Manus create the project. For a typical Vite React app, you should expect files like:
package.jsonindex.htmlsrc/main.tsxsrc/App.tsxsrc/components/Navbar.tsxsrc/components/Footer.tsxsrc/pages/Home.tsxsrc/pages/Pricing.tsxsrc/pages/Docs.tsxsrc/index.csstailwind.config.jsREADME.md
Do not accept the generated code as final just because it runs. Treat Manus output like a pull request from a fast junior developer. It can save time, but it still needs review.
Step 4: Pull the code locally and run it
Run the project on your machine before you make design or feature changes. This catches broken setup, missing dependencies, and scripts that only worked in the Manus environment.
Typical commands:
npm install
npm run dev
Then open the local URL, often:
http://localhost:5173Also run a production build early:
npm run build
npm run preview
If the local dev server works but the production build fails, fix that before adding more features. Many teams wait too long to run the build and then spend extra time untangling TypeScript, bundling, and dependency errors.
Recommended screenshot: Capture the local React app running in your browser. Include the URL bar and at least one responsive viewport if this is part of a team handoff.
Step 5: Check dependencies before you commit
AI-generated projects often include dependencies that are outdated, unnecessary, or inconsistent with your standards. Review package.json before committing.
Look for:
- Unused packages: Remove libraries the app does not import.
- Unexpected packages: Question anything related to analytics, auth, databases, or server frameworks if you did not ask for it.
- Version drift: Pin versions according to your team policy.
- Duplicate tools: Avoid mixing similar tools, such as multiple styling systems.
- Security issues: Run an audit and inspect warnings instead of ignoring them.
Useful commands:
npm ls
npm audit
npm outdated
If your team uses exact dependency versions, update package.json accordingly. For example, avoid a loose setup like this if your release process requires strict reproducibility:
"react": "^19.0.0"Use an exact version when required:
"react": "19.0.0"Then commit the lockfile. Do not regenerate dependencies casually across machines without checking the diff.
Step 6: Review the generated code like a pull request
Manus can produce working code that still has design, security, accessibility, or maintainability problems. Review the diff before you merge it into your main branch.
Focus on these areas:
- Component structure: Reusable components should be clear and small. A 600-line
App.tsxis a warning sign. - Routing: Confirm each route renders the expected page and has a fallback for unknown paths.
- Accessibility: Check headings, labels, button semantics, focus states, and keyboard navigation.
- Responsive behavior: Test at widths like 375px, 768px, 1024px, and 1440px.
- Secrets: Search for tokens, keys, credentials, and hardcoded private URLs.
- Error handling: If the app calls APIs, check loading, empty, and error states.
- Content quality: Replace generic AI copy before shipping.
Run searches for common secret patterns:
grep -R "sk-" .
grep -R "api_key" .
grep -R "API_KEY" .
grep -R "secret" .
grep -R "token" .
If the app needs environment variables, keep them out of committed frontend code. Use a local .env file, commit a safe .env.example, and configure production values in your deployment platform.
Example .env.example:
VITE_PUBLIC_ANALYTICS_ID=
VITE_API_BASE_URL=
Do not put private service keys in a Vite frontend app. Anything exposed through VITE_ can end up in the browser bundle.
Recommended screenshot: Capture the code diff before merge. Include the file tree and key component changes so reviewers can quickly see the scope.
Step 7: Ask Manus for targeted fixes, not broad rewrites
Once the app exists, avoid asking Manus to “make it better” or “clean up the code.” Broad prompts often create churn. They can rename files, change styling patterns, or introduce new dependencies without a strong reason.
Give Manus small, testable tasks instead.
Weak prompt
Improve the site and make it more professional.Better prompt
Update only the Pricing page.

Goals:
- Keep the existing component structure.
- Do not add new dependencies.
- Add a monthly/yearly billing toggle using React state.
- Keep all pricing data in a typed array.
- Make the pricing cards stack on mobile and align in three columns on desktop.
- Add accessible labels for the toggle.
- Do not modify Home, Docs, Navbar, or Footer.
This gives you a smaller diff and a clearer review path. It also reduces the chance that Manus will change working parts of the app.
Step 8: Add tests and quality checks
For a simple marketing site, you may not need a large test suite. You still need basic checks before deployment.
At minimum, run:
npm run buildnpm run lint, if configured- Manual route checks for every page
- Mobile layout checks
- Keyboard navigation checks
- Form behavior checks, if forms exist
If your app has interactive logic, add tests with Vitest and React Testing Library. For example, a billing toggle on a pricing page is a good candidate for a small component test.
Example prompt to add tests
Add tests for the Pricing page billing toggle.

Requirements:
- Use Vitest and React Testing Library.
- Do not change the visual design.
- Test that monthly prices render by default.
- Test that yearly prices render after selecting yearly billing.
- Test accessible labels for the billing controls.
- Add the npm test script if missing.
- Update README.md with the test command.
Review any test dependencies Manus adds. Confirm they match your team’s tooling before you commit.
Step 9: Deploy the React site
For a Vite React site, Vercel and Netlify both work well. Use the deployment target your team already supports.
Common Vercel settings for Vite
- Build command:
npm run build - Output directory:
dist - Install command:
npm installor your team’s package manager command
Common Netlify settings for Vite
- Build command:
npm run build - Publish directory:
dist
After deployment, check:
- Every route loads directly, including refresh on nested routes.
- Assets load with correct paths.
- Mobile navigation works.
- Environment variables are configured correctly.
- No source maps expose anything sensitive, based on your team policy.
- The deployed build matches the reviewed code.
Recommended screenshot: Capture the deployment result, including the production URL and a successful build status.
Sample acceptance checklist
Use a checklist before you accept the Manus-generated React site. Adjust it for your team’s release process.
- Requirements: The site matches the approved Manus task and revised plan.
- Local run:
npm install,npm run dev, andnpm run buildsucceed on a clean checkout. - Routes: Home, pricing, docs, and 404 routes work.
- Responsive layout: Pages work at 375px, 768px, 1024px, and 1440px widths.
- Accessibility: Headings, labels, links, buttons, focus states, and keyboard navigation pass manual review.
- Dependencies: Packages are expected, reviewed, and pinned according to team policy.
- Secrets: No API keys, tokens, passwords, or private credentials appear in the repo.
- Code quality: Components are readable, typed, and reasonably scoped.
- Generated copy: Placeholder text has been reviewed or replaced.
- Tests: Relevant tests pass, or the decision to skip tests is documented.
- Deployment: Production deployment succeeds and serves the expected build.
- Prompt history: Initial prompt, plan revisions, and major fix prompts are recorded.
Common mistakes when building with Manus
Using vague prompts
Vague prompts produce vague software. If you do not specify the stack, pages, constraints, and acceptance criteria, Manus will fill in the gaps. Sometimes those guesses are useful. Often they create extra cleanup work.
Accepting generated code without review
Generated code can compile while still being hard to maintain. Review naming, component boundaries, accessibility, dependency choices, and security assumptions before you merge.
Skipping dependency checks
Do not assume every package belongs in the project. AI tools can add libraries for one small interaction when simple React state would work. Keep the dependency list small unless the project needs more.
Leaking API keys
Frontend React apps cannot protect private keys. If Manus adds secrets to a component, config file, or README example, remove them. Use backend routes or serverless functions for private service calls.
Not pinning requirements
If your team needs reproducible builds, pin package versions and commit the lockfile. Loose dependency ranges can produce different installs later.
Overusing the agent for simple fixes
If a button label needs a change, edit it yourself. Agent-driven edits make sense for multi-file changes, refactors, generated tests, or repetitive updates. Small manual fixes are often faster and safer.
Failing to record prompt iterations
If you do not record the prompt trail, your team loses the reasoning behind the code. Keep the initial prompt, plan revisions, and major fix prompts in your ticket, pull request, or prompt management system.
How to record prompt iterations
For engineering teams, prompt history should be part of the development record. You want to know which instruction produced which code change, especially when the app later breaks or needs a redesign.
A lightweight record can include:
- Prompt name: “Initial React site generation”
- Date: The day the prompt was run
- Tool: Manus
- Goal: Generate Vite React TypeScript marketing site
- Prompt text: The exact instruction sent
- Output summary: Files created or changed
- Review notes: Issues found and fixes requested
- Commit link: The related commit or pull request
This becomes more important when multiple engineers use AI tools on the same codebase. Without a prompt record, teams struggle to reproduce changes, compare approaches, or understand why a dependency appeared.
Suggested screenshot list for your build log
If you are documenting the process for a team, tutorial, or internal demo, capture these images:
- Manus task setup: Shows the original scope and constraints.
- Generated plan: Shows file structure, dependencies, and assumptions before code generation.
- Local React app running: Shows the app working on your machine.
- Code diff: Shows the generated or revised files before merge.
- Deployment result: Shows successful production build and live URL.
These screenshots help reviewers understand what Manus was asked to do, what it planned, what it built, and what shipped.
A practical Manus workflow for React sites
A reliable workflow looks like this:
- Write a clear project brief.
- Ask Manus for a plan before code.
- Review the plan for scope, dependencies, and risks.
- Generate the React project.
- Run the app locally.
- Run a production build.
- Review the diff.
- Check dependencies and secrets.
- Ask for targeted fixes.
- Run tests and manual checks.
- Deploy.
- Record the prompt history.
This process keeps Manus useful without letting it take over engineering judgment. You get speed where it helps, and you keep control over code quality, security, and release readiness.
If your team is building React sites, LLM workflows, agents, or prompt-driven development processes, PromptLayer can help you track prompt versions, evaluate outputs, and keep a record of what changed over time. Create an account at https://dashboard.promptlayer.com/create-account.