Install Claude Code: Step-by-Step Guide for Developers

AI coding assistants have been reshaping software development, making tasks more efficient and less time-consuming. Among these cutting-edge tools is Claude Code from Anthropic, a standout with its agentic capabilities in AI-assisted coding. Installing and leveraging such a tool can significantly enhance your development workflow.
Why Claude Code?
Claude Code is designed to perform complex tasks autonomously, like running tests or modifying code, elevating it above traditional autocompletion tools. Its unique agentic abilities make it invaluable for developers looking to streamline and boost productivity. Compared to other tools, Claude Code offers substantial efficiency gains by reducing the time for routine tasks, something that can otherwise consume hours of a developer's time.
Preparing for the installation
Before you dive into installation, ensure you meet the system requirements. Claude Code is supported on Windows, macOS, and Linux, requiring at least 4GB of RAM. An Anthropic account with billing enabled or a Claude Pro/Max subscription is also essential, as is an internet connection for the API. Preparing your system and prerequisites helps prevent common pitfalls during installation.
Detailed installation guide
To install Claude Code, the native installer, which provides a self-contained binary and is platform specific:
For macOS/Linux:
- Open your terminal and run:
This installs Claude Code without needing Node.js, offering a stable environment.
For Windows:
- Use PowerShell and execute:
Alternative methods like Homebrew and npm are available but can lead to dependency conflicts. Anthropic strongly recommends the native installation for stability and simplicity.
Configuration and authentication
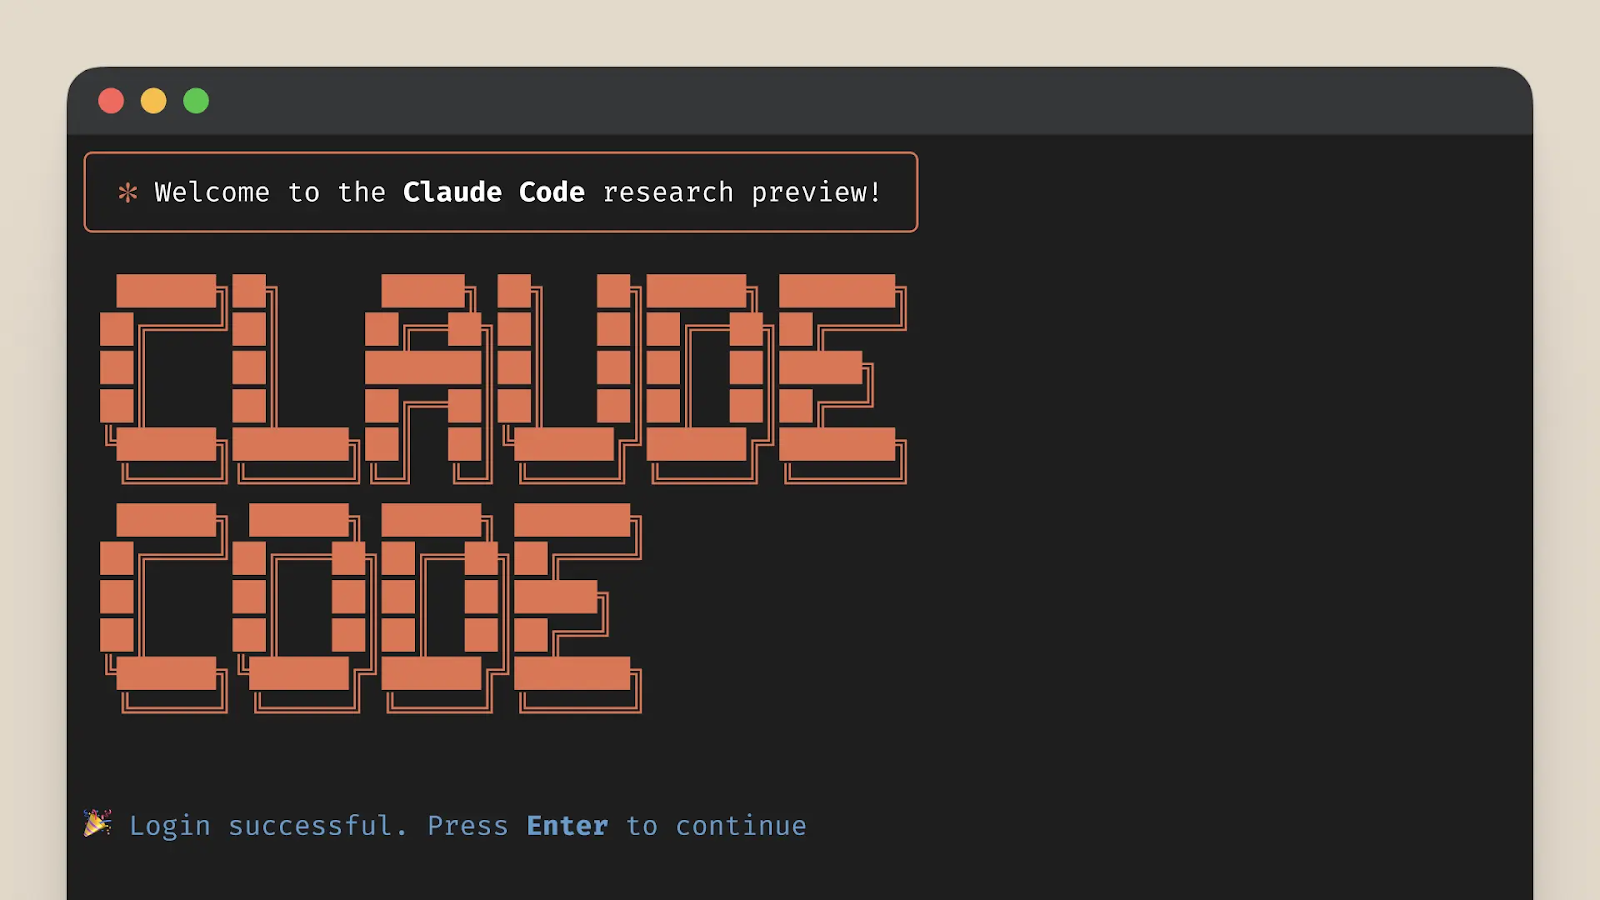
Post-installation, you need to authenticate Claude Code using either an API key or OAuth through the Anthropic Console. Run claude config in your terminal to start this process. Proper authentication is crucial for the tool to function effectively, enabling you to initiate AI sessions directly from your terminal.
Usage and integration
Once installed, you can start Claude Code from any project directory using the claude command. Its integration with VS Code is especially beneficial, allowing you to leverage AI assistance within your favorite IDE, which enhances your coding workflow with inline reviews and suggestions.
Troubleshooting common issues
Even with meticulous preparation, issues can arise. Here are some tips for troubleshooting:
- If you encounter installation errors, ensure you have the correct permissions and an active internet connection.
- If Claude Code isn’t recognized in your terminal, verify the PATH environment is configured properly.
- Avoid mixing installation methods; stick to the native installer to prevent conflicts.
Your next commit just got a co-pilot
Claude Code is installed, authenticated, and ready - now the only thing left is to actually put it to work. Pick a repo, run claude in the project directory, and give it a concrete job: fix a failing test, refactor a messy module, or track down a stubborn bug. That’s where the “agentic” part starts paying off.
If you hit weird behavior, resist the urge to reinstall three different ways - stick with the native installer and troubleshoot from there. And if you’re building repeatable AI workflows around Claude Code, PromptLayer can be a helpful layer for orchestrating and managing prompts as your usage scales.